Streams and Vectors: Difference between revisions
Mattcarrick (talk | contribs) |
Mattcarrick (talk | contribs) |
||
| Line 22: | Line 22: | ||
The following example will describe how to convert a stream to a vector and back to a stream. Two complex sinusoid streams will be converted to a 2-element vector, displayed, and then converted back to their independent streams. | The following example will describe how to convert a stream to a vector and back to a stream. Two complex sinusoid streams will be converted to a 2-element vector, displayed, and then converted back to their independent streams. | ||
Add two ''Signal Source'' blocks to the workspace: | |||
[[File:TwoSignalSourceBlocks.png|700px]] | |||
Edit the parameters of the second ''Signal Source'' to have a different frequency and amplitude to distinguish it visually from the first ''Signal Source'': | |||
Revision as of 20:34, 6 January 2022
This tutorial will describe the difference between a Stream and a Vector. You can find the previous tutorial here: Converting Data Types
Streams
Streams in GNU Radio are what convey the information between blocks and are represented by the arrows connecting blocks in a flowgraph. A stream must have a data type, such as Float 32 or Byte. A stream carries 1 sample for each time instance and are used to represent and process serial data.
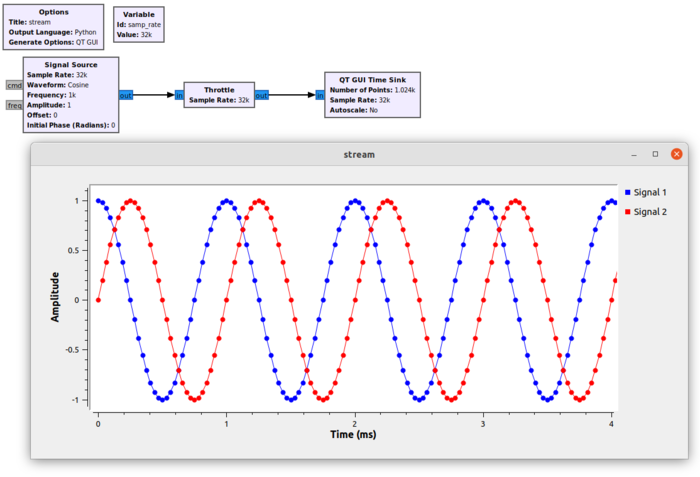
The Signal Source block produces a Complex Float 32 stream. The output of the block at each time instance contains 1 complex sample:
Vectors
Vectors carry multiple samples per time instance, representing data in parallel. By analogy, a stream represents a scalar at each time instance whereas a vector represents an array at each time instance.
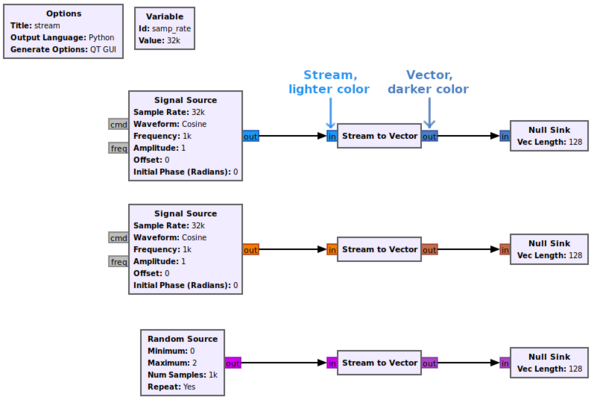
GRC uses lighter colors to represent streams and darker colors to represent vector outputs:
Streams and Vectors Flowgraph Example
The following example will describe how to convert a stream to a vector and back to a stream. Two complex sinusoid streams will be converted to a 2-element vector, displayed, and then converted back to their independent streams.
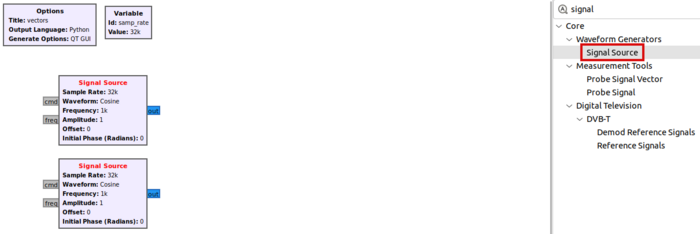
Add two Signal Source blocks to the workspace:
Edit the parameters of the second Signal Source to have a different frequency and amplitude to distinguish it visually from the first Signal Source:


