Pushbutton IQ Recorder with descriptive filenames: Difference between revisions
No edit summary |
No edit summary |
||
| Line 5: | Line 5: | ||
* What was the sample rate? | * What was the sample rate? | ||
* Center Frequency? SDR Frontend Gain? | * What was the Center Frequency? SDR Frontend Gain? | ||
* When was it recorded? | * What was the When was it recorded? | ||
* What were we even trying to capture? | * What were we even trying to capture? | ||
| Line 17: | Line 17: | ||
==Goals== | ==Goals== | ||
====Create a File Sink with Dynamic Information in the Filename==== | ====Create a File Sink with Dynamic Information in the Filename==== | ||
* timestamp | * timestamp of recording | ||
* radio parameters | * radio parameters | ||
* User Input Note for clarity | * User Input Note for clarity | ||
====Only Record the file on an User Input==== | |||
====Only Record the file on an User Input Trigger==== | |||
* Define User Input as Momentary Switch in GUI | * Define User Input as Momentary Switch in GUI | ||
* Set Conditional Statement in File Sink Block | * Set Conditional Statement in File Sink Block | ||
| Line 31: | Line 32: | ||
[[File:Pushbutton_IQ_Recorder.grc|Pushbutton IQ Recorder]] | [[File:Pushbutton_IQ_Recorder.grc|Pushbutton IQ Recorder]] | ||
==Create Synthetic Spectrum for the Flowgraph== | |||
This screenshot shows the blocks used to generate some synthetic spectrum with intermittent narrowband carriers: | |||
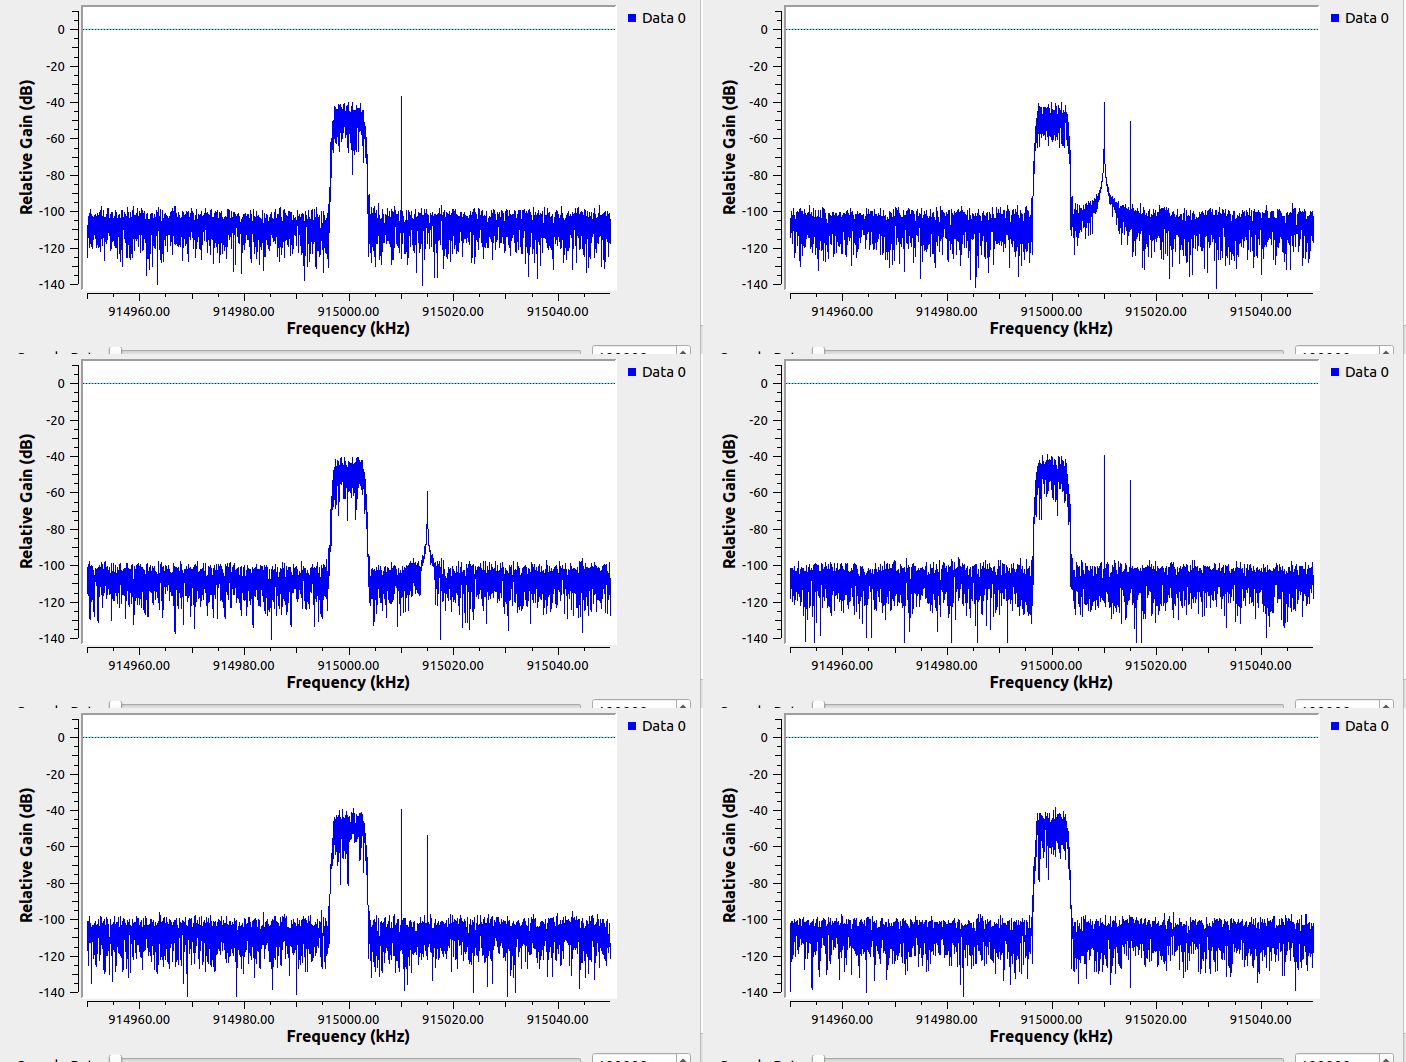
This is what the simulated spectrum looks like when running in GNURadio: | |||
[[File:Synth_spectrum_plot.gif]] | |||
==Create a File Sink with Dynamic Information in the Filename== | ==Create a File Sink with Dynamic Information in the Filename== | ||
In the following example we will: | In the following example we will: | ||
Revision as of 03:32, 17 September 2022
Application
When doing field work, capturing Raw I/Q for post processing is a helpful way to get the best signal quality of a capture while spending minimal time in a non-lab environment.
Changing filenames manually for every capture can be laborious and subject to user error. Furthermore, starting and stopping a flowgraph can be tricky if we are tuning the SDR frontend parameters to find optimal level/frequency/sample rate. If a non-descriptive filename is used such as capture_file.cfile it does nothing to describe the situation to the user during the analysis stage as it doesn't include any information about the RF samples we've captured. This is critical to the post-analysis process.
- What was the sample rate?
- What was the Center Frequency? SDR Frontend Gain?
- What was the When was it recorded?
- What were we even trying to capture?
These are all questions we ask after the fact, especially if a lot of time has gone by since we did the recordings.
Introduction
Goals
Create a File Sink with Dynamic Information in the Filename
- timestamp of recording
- radio parameters
- User Input Note for clarity
Only Record the file on an User Input Trigger
- Define User Input as Momentary Switch in GUI
- Set Conditional Statement in File Sink Block
Content
The flowgraph for this tutorial is shown below along with the GRC file needed if you would like to test it out.
Create Synthetic Spectrum for the Flowgraph
This screenshot shows the blocks used to generate some synthetic spectrum with intermittent narrowband carriers:
This is what the simulated spectrum looks like when running in GNURadio:

Create a File Sink with Dynamic Information in the Filename
In the following example we will: Use some Pythonic methods to leverage the Runtime Callbacks in our flowgraph which will allow the filenames to change dynamically based on timestamp and radio parameters.
This portion of the flowgraph:
- one
- two
- three
Timestamps
SDR Frontend Information
This section of the flowgraph is shown here:
The parameters for the File Sink are shown here:
User Input Note to Describe the Capture
This part of the flowgraph is shown here:
[[File:]]
Example:
Only Trigger Recording on User Input
Using python conditional statement, we can send the I/Q samples to /dev/null until the record button is pressed (and held). When the record button is pressed, the I/Q samples will begin streaming to a file with a timestamp and radio parameters of the flowgraph's state at the time the button was pressed. When released it will send the samples back to /dev/null
/dev/Null or Filename with Python Conditional Statement
Here is a brief demo of the flowgraph in action: