Designing Filter Taps
This tutorial demonstrates how to create a tuple or array of filter taps and apply them within a low pass filtering block.
This tutorial makes use of the flowgraph developed in the previous tutorial, Low Pass Filter Example, so please complete it before continuing. The next tutorial, Sample Rate Change, describes how to perform sample rate change in GNU Radio.
Designing the Filter Taps
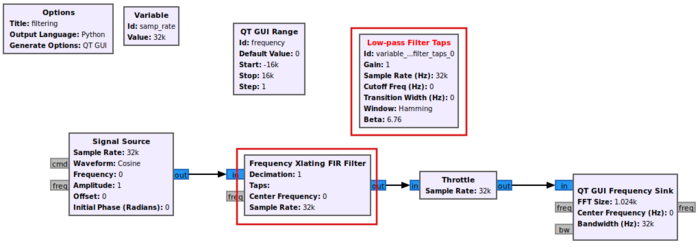
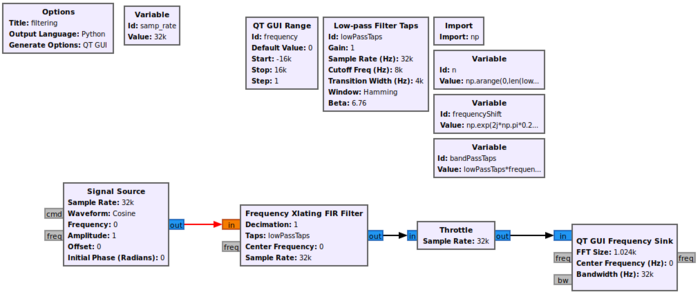
Begin with the flowgraph from Low Pass Filter Example but replace the Low Pass Filter with the Frequency Xlating Filter and drag in the Low-Pass Filter Taps block:
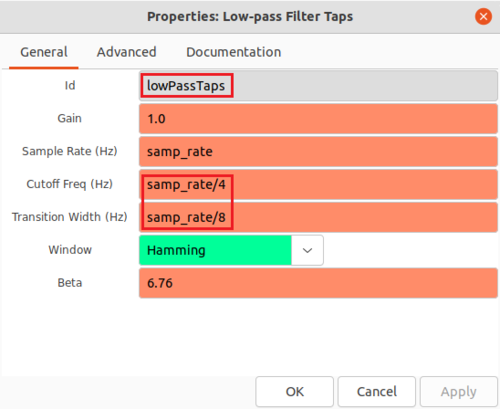
The Low-Pass Filter Taps block will design a set of filter taps that can be applied to filtering blocks. Filter taps may also be referred to as weights or coefficients. The response and performance of the filter is dependent on the parameters entered by the user. Double-click the Low-Pass Filter Taps block to open the properties. Edit the properties:
- Id: lowPassFilterTaps
- Cutoff Freq (Hz): samp_rate/4
- Transition Width (Hz): samp_rate/8
The Low-Pass Filter Taps block saves the filter taps as a tuple as variable lowPassFilterTaps. A tuple is a data type in Python that is like a list or array but is more flexible in that it can contain data of all different types. Tuples are represented by python by parenthesis, (item1, item2, item3). You can get more information on Python tuples here.
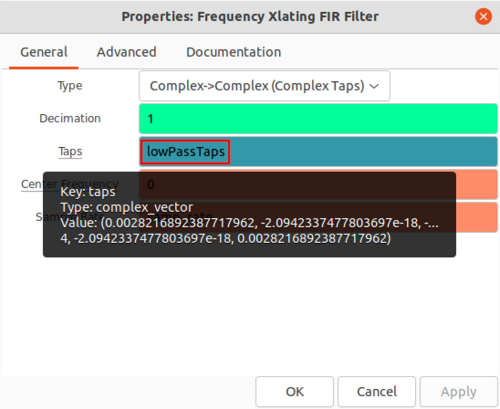
Double-click the Frequency Xlating FIR Filter block to edit the properties. Enter lowPassFilterTaps for Taps and leave all of the other parameters the same. Hovering over the lowPassFilterTaps variable will display information about the filter taps:
The first couple of filter taps are displayed in a tuple. Blocks in GNU Radio can accept data objects as parameters such as tuples, arrays and lists. In some instances, blocks require their parameters to be of a specific data type. Save the properties and run the flowgraph:
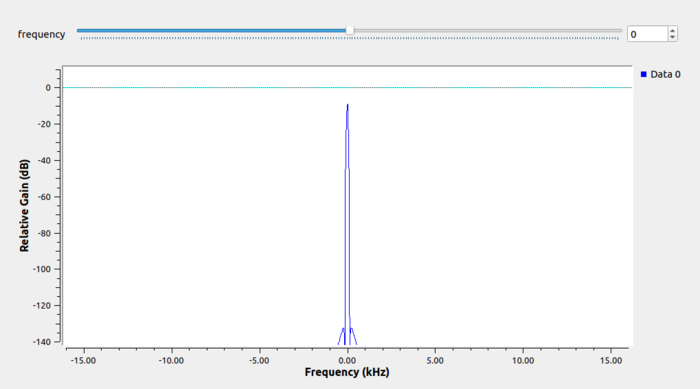
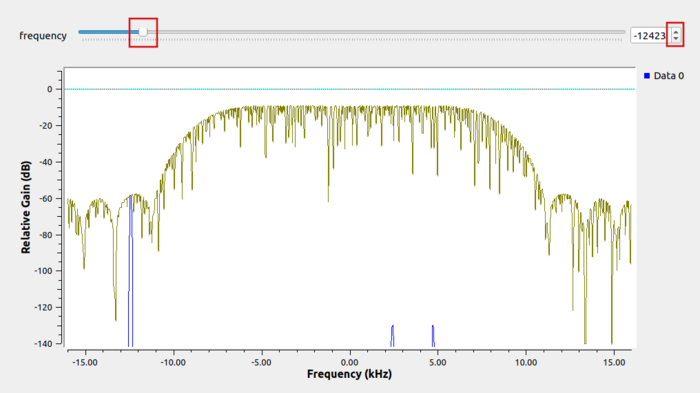
Mouse-click and select Max Hold, then slowly drag the frequency slider across all of the values. The magnitude of the frequency response can then be seen through the outline:
Entering Filter Taps Manually
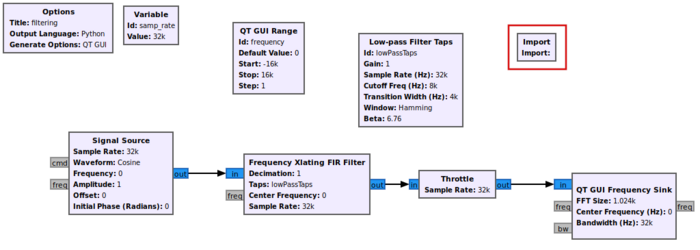
Alternative methods can be used to design filter taps and then enter them manually as a Python variable. For example, the Frequency Xlating FIR Filter block will accept filter taps as a NumPy array. An import statement for NumPy is needed to be able to access it's functions and data types. Add the Import block to the GRC workspace:
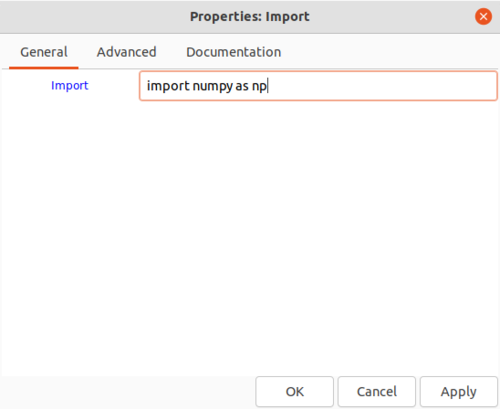
Double-click the block and add the import statement:
import numpy as np
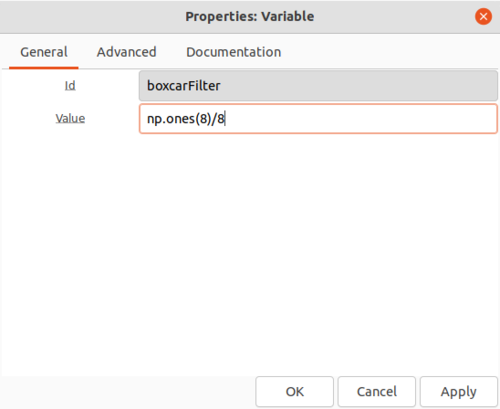
A simple moving-average filter, or boxcar, can be designed by setting all of filter taps to be the same. This can be done by using the NumPy ones() function which returns a NumPy array of all ones with a specified length. Create a variable named boxcarFilter with the Value being:
np.ones(8)/8
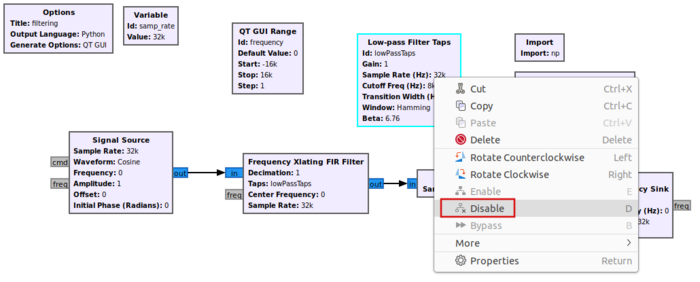
Right-click on Low-Pass Filter Taps and then Disable:
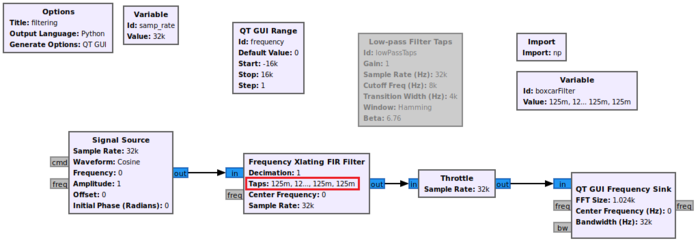
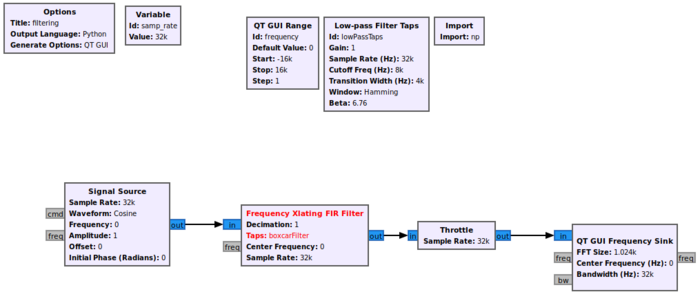
Then edit the properties of Frequency Xlating FIR Filter and replace lowPassTaps with boxcarFilter. The flowgraph will now look like the following:
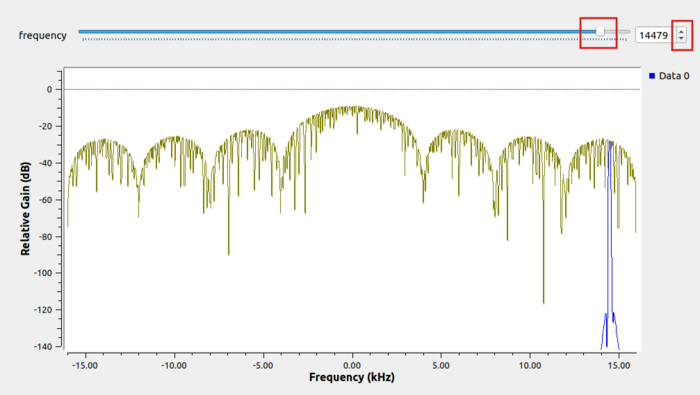
Run the flowgraph, select Max Hold and then sweep the frequency slider. A different frequency response magnitude can be seen now that different filter taps are used:
Real to Complex Filter
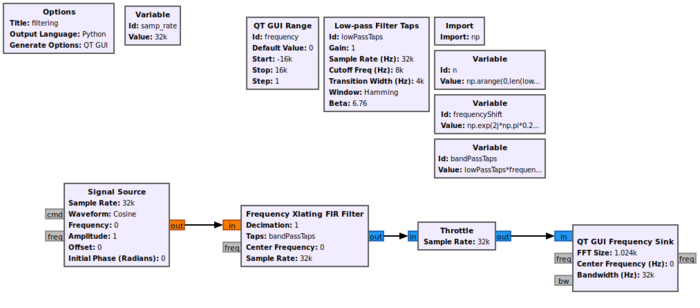
Many of the filtering blocks have options to select combinations of real or complex data types for the input and output, as well as real or complex filter weights. This example will demonstrate one method of how to use complex filter weights to transform a real signal into a complex signal. Re-create the following flowgraph by deleting the boxcarFilter variable:
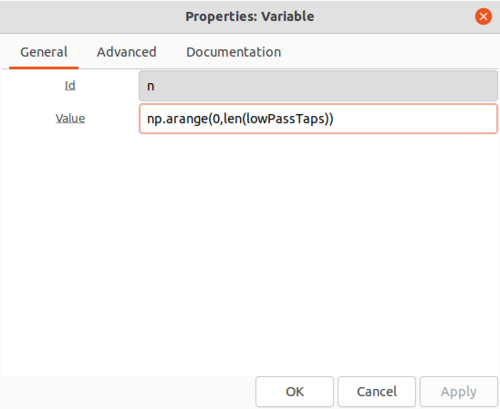
The lowPassTaps will be used as the basis for a complex band-pass filter. Create a variable n with the Value
np.arange(0,len(lowPassTaps))
which produces an array of integers: 0, 1, 2, 3, ... up to the length of lowPassTaps:
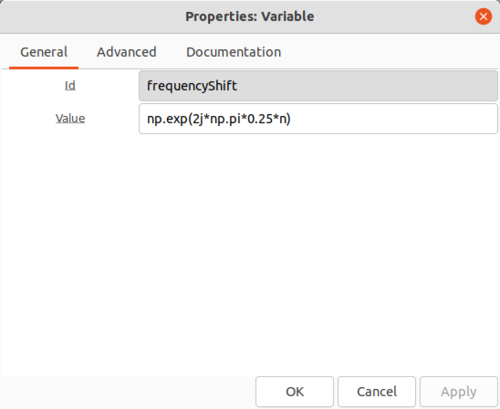
Create the frequencyShift variable with Value:
np.exp(2j*np.pi*0.25*n)
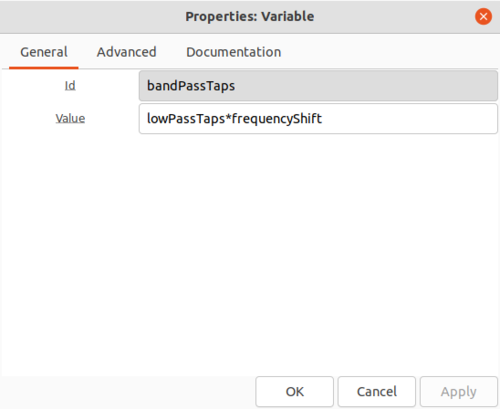
which is a complex sinusoid with a frequency of 1/4th the sampling rate. The frequencyShift variable will be used to change the center frequency of lowPassTaps from 0 to 1/4th the sampling rate. Create a variable bandPassTaps with value:
lowPassTaps*frequencyShift
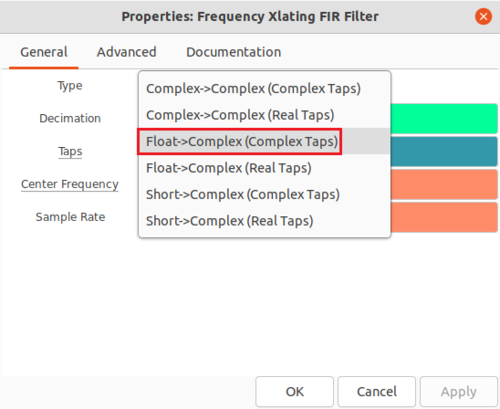
Double-click the Frequency Xlating FIR Filter block to edit the properties. Click the drop-down menu for Type and select Real->Complex(Complex Taps):
Replace lowPassTaps with bandPassTaps. The flowgraph will now look like the following:
Edit the properties of the Signal Source and convert it to a real signal. The flowgraph will now look like:
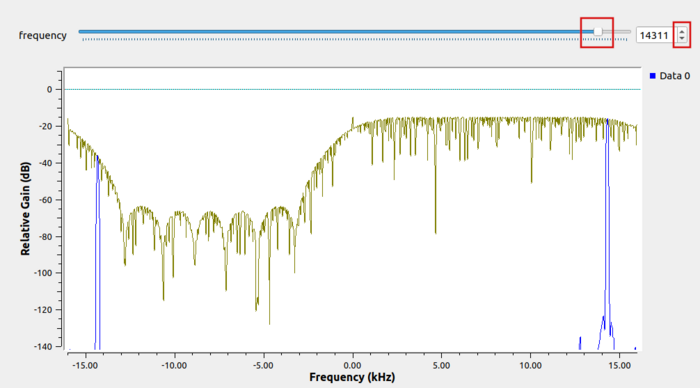
Run the flowgraph, turn on Max Hold, and sweep the frequency variable:
The magnitude of the frequency response shows the center frequency of the low-pass filter has been moved up to 1/4th the sampling rate, which is now a band-pass filter. The frequency response is now different between the positive and negative frequencies, which can be a property of complex filters (but not real filters).
