Packing Bits: Difference between revisions
Mattcarrick (talk | contribs) |
Mattcarrick (talk | contribs) |
||
| Line 17: | Line 17: | ||
Press the ''UP'' or ''DOWN'' keys to cycle through the different data types until the ''byte'' data type is selected, denoted by the <span style="color:magenta">magenta</span> color: | Press the ''UP'' or ''DOWN'' keys to cycle through the different data types until the ''byte'' data type is selected, denoted by the <span style="color:magenta">magenta</span> output port color: | ||
[[File:ChangeRandomSourceToByte.png|500px]] | [[File:ChangeRandomSourceToByte.png|500px]] | ||
Revision as of 16:45, 21 January 2022
This tutorial describes how to pack 8 bits into a byte using the Pack K Bits block, and how unpack a byte into 8 bits, using the Unpack K Bits block.
The previous tutorial, Converting Data Types, describes the char or byte data type and how to convert between data types. The next tutorial, Streams and Vectors, describes the differences between streams and vectors and how to use them in flowgraphs.
Packing Bits
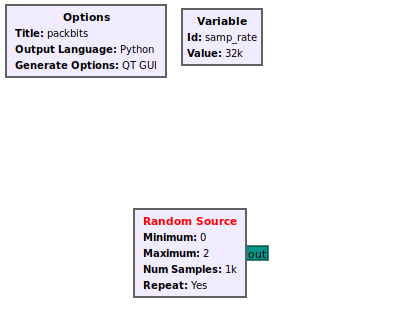
Packing bits into a byte is useful in representing binary data (as opposed to digitized RF samples) as well when using the modulator blocks: Constellation Modulator, GFSK Mod and OFDM Transmitter. Create a new flowgraph and add the Random Source block to the workspace:
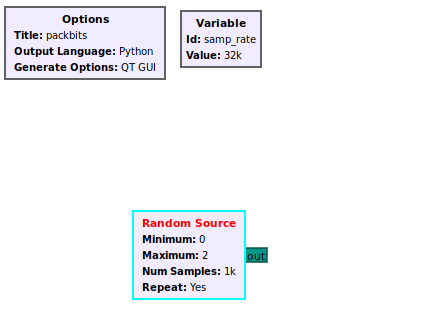
Click on Random Source. It is selected when outlined in aqua:
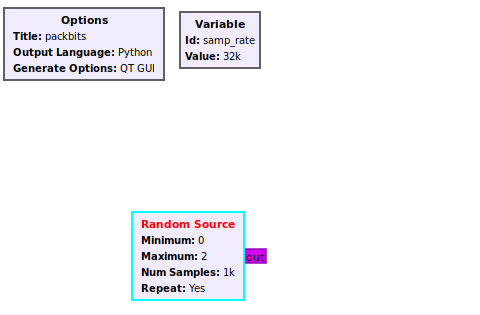
Press the UP or DOWN keys to cycle through the different data types until the byte data type is selected, denoted by the magenta output port color:
Unpacking Bits
- pack and unpack bits
- describe how it works for char/byte type
The next tutorial, Streams and Vectors, describes the differences between streams and vectors and how to use them in flowgraphs.


