QT Designer Integration: Difference between revisions
No edit summary Tag: Manual revert |
No edit summary |
||
| Line 9: | Line 9: | ||
== Introduction == | == Introduction == | ||
Qt is a cross-platform C++ framework for developing applications with rich graphical user interfaces. Integrating Qt GUI components within | Qt is a cross-platform C++ framework for developing applications with rich graphical user interfaces. Integrating Qt GUI components within your GNU Radio projects enables you to design and customize the appearance and behavior of your flowgraphs' user interfaces. | ||
[[File:TestOM.jpg|700px]] | [[File:TestOM.jpg|700px]] | ||
| Line 35: | Line 35: | ||
== Editing .ui Files in Qt Designer == | == Editing .ui Files in Qt Designer == | ||
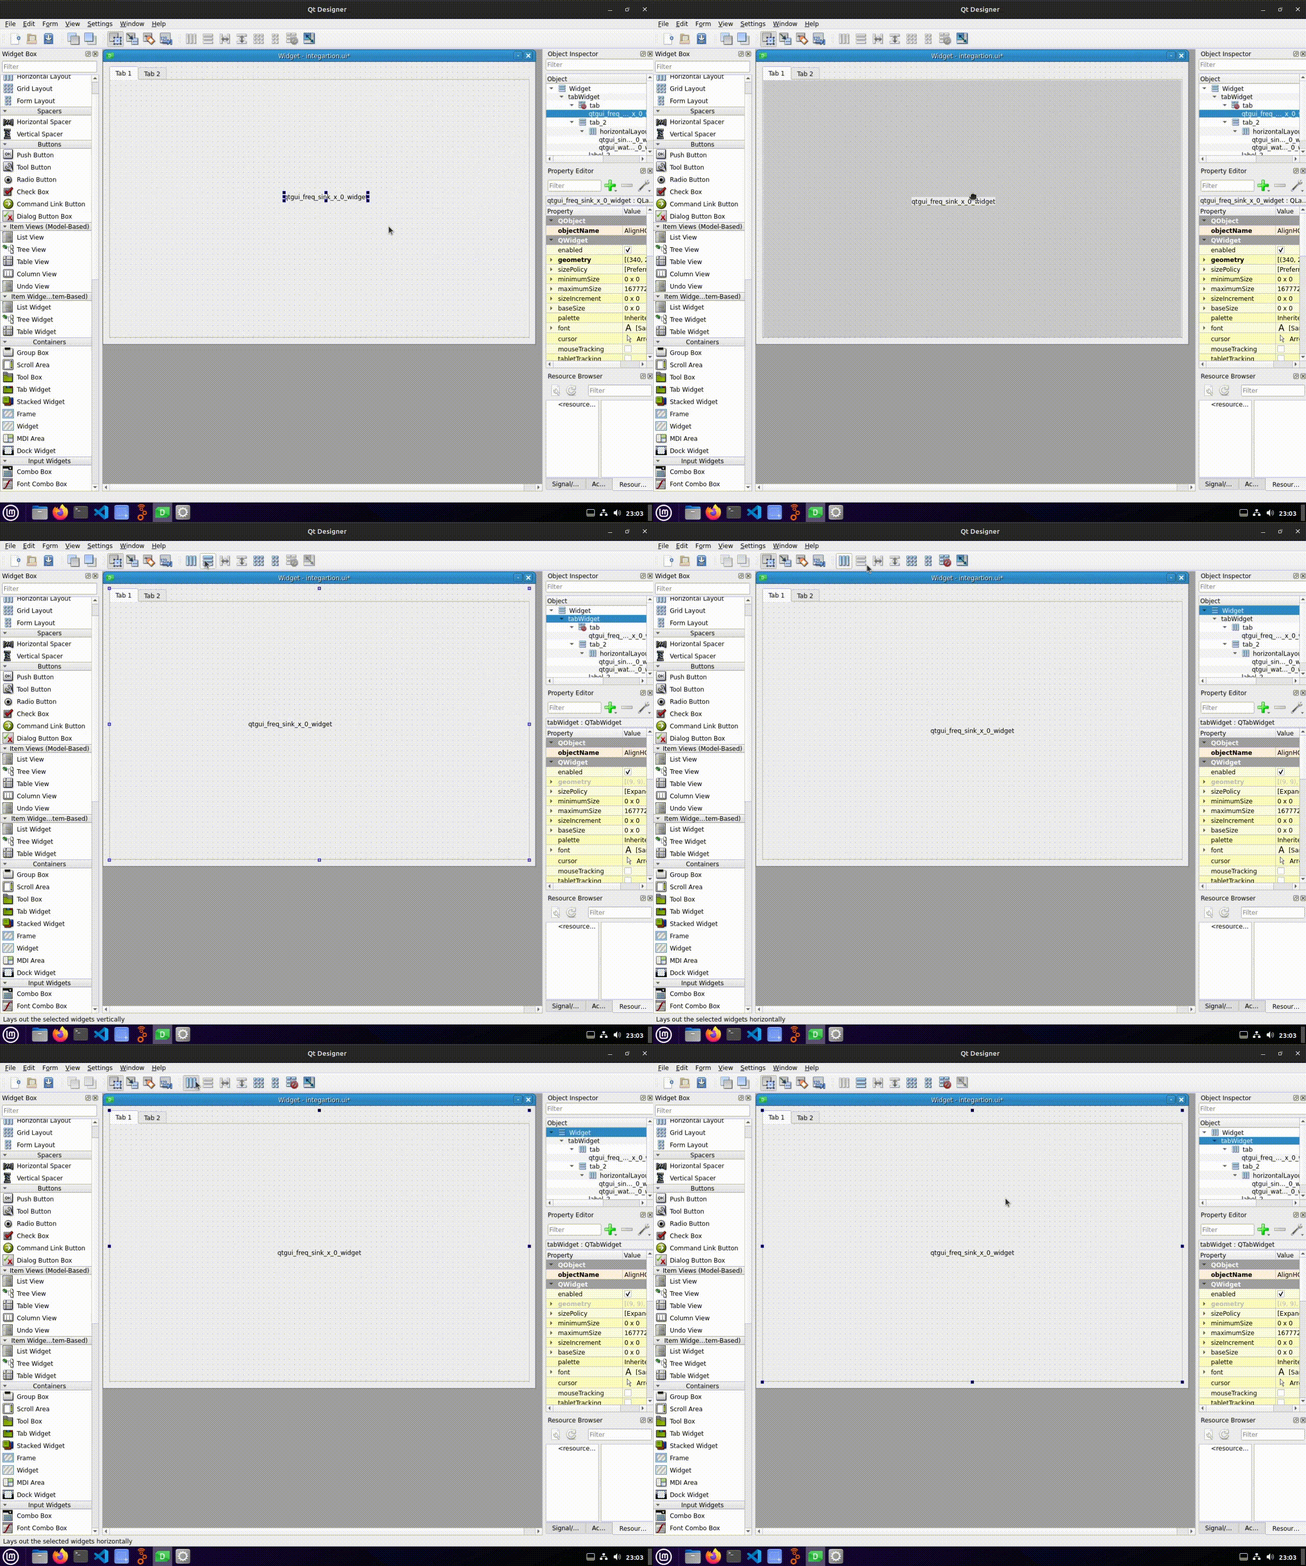
Qt Designer provides an intuitive interface for | Once we have our .ui file, we can open it in Qt Designer to further customize the layout and appearance of our GUI. Qt Designer provides an intuitive interface for adding widgets, arranging elements, and applying formatting options. | ||
[[File:Creating_custom_layout.gif]] | [[File:Creating_custom_layout.gif]] | ||
| Line 41: | Line 41: | ||
== Integrating .ui Files == | == Integrating .ui Files == | ||
Once you've created and customized your layout in Qt Designer, | Once you've created and customized your layout in Qt Designer, the generated python file will integrate it into your GNU Radio project: | ||
1. | 1. The .ui file is loaded in your Python code using the `uic` module. | ||
2. | file_path = os.fspath(Path(__file__).resolve().parent / "<your-file-name>.ui") | ||
if os.path.exists(file_path): | |||
ui_file = QFile(file_path) | |||
ui_file.open(QFile.ReadOnly) | |||
uic.loadUi(ui_file,self) | |||
ui_file.close() | |||
2. The loaded .ui file to set your main application window. | |||
== Running the Custom Layout == | == Running the Custom Layout == | ||
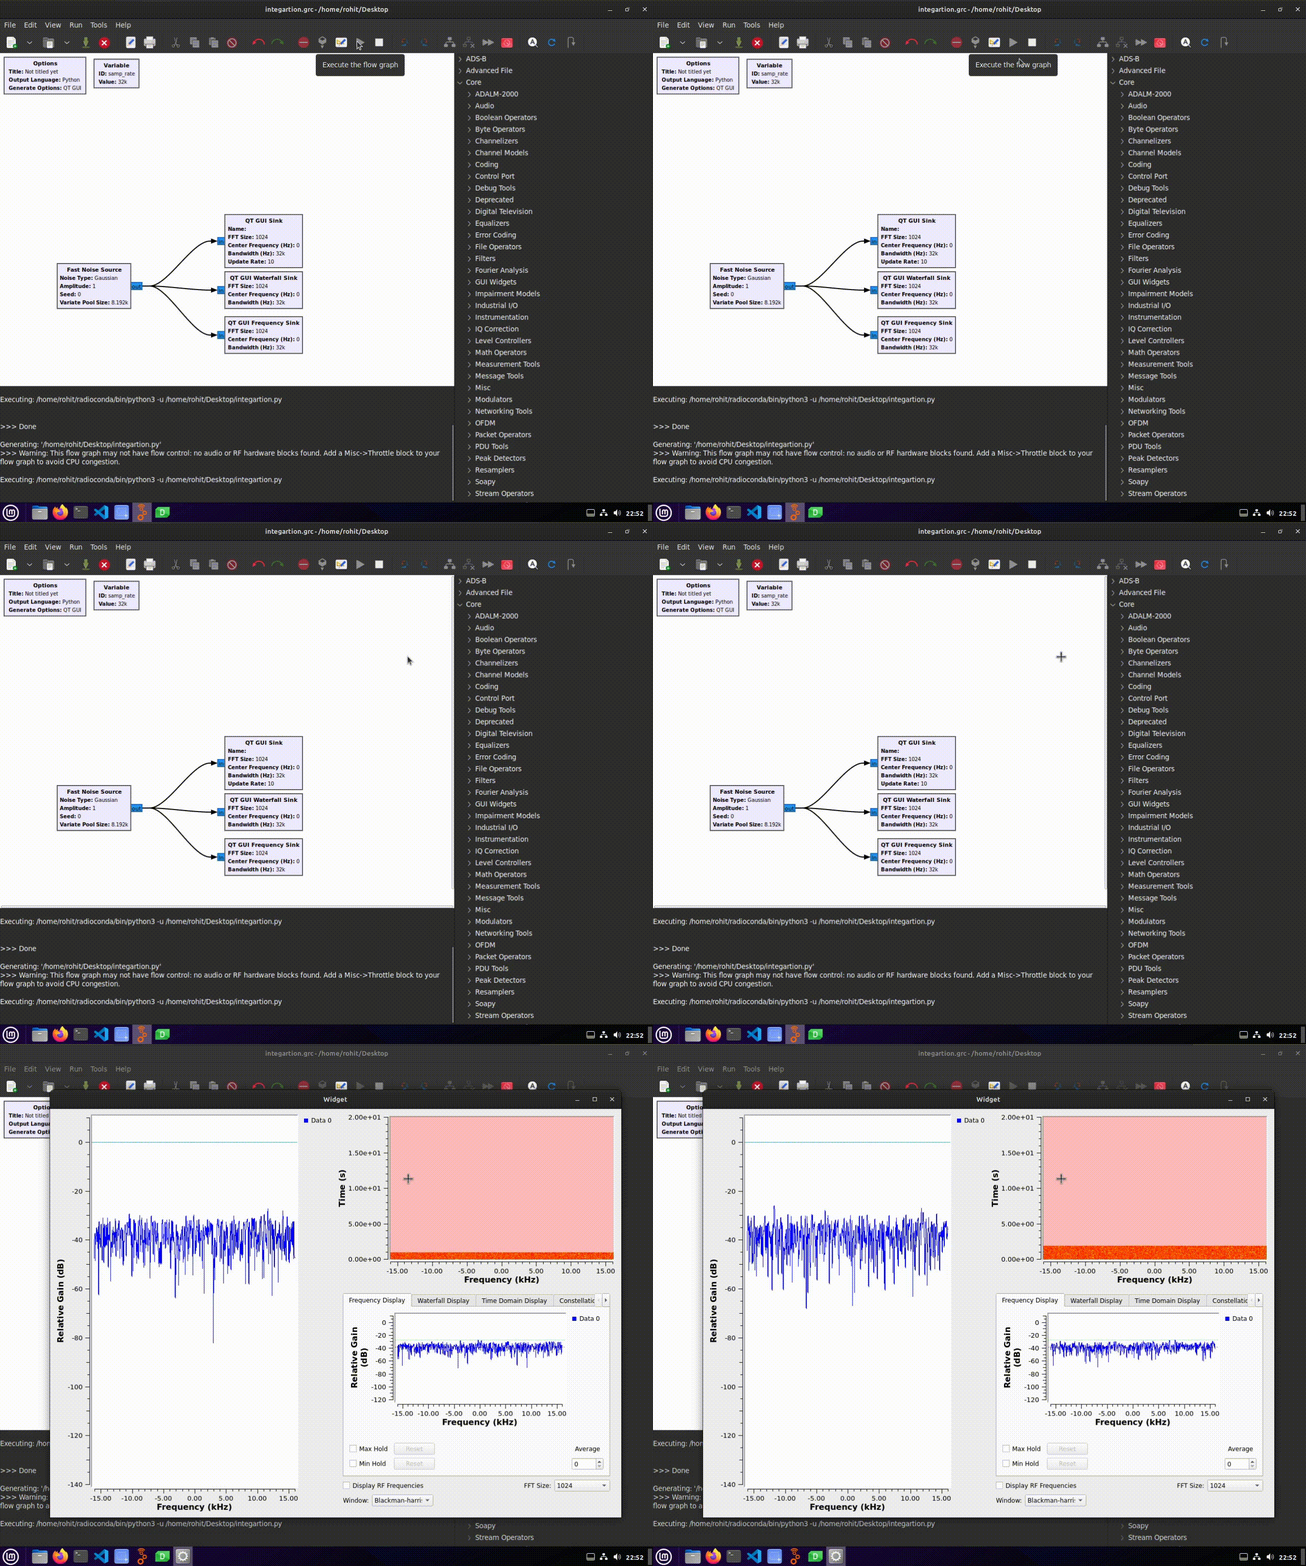
Running your custom layout is as simple as executing your Python script. Your GUI will reflect the design and arrangement you created in Qt Designer, providing a user-friendly interface for your flowgraph. | Running your custom layout is as simple as executing your Python script. Your GUI will reflect the design and arrangement you created in Qt Designer, providing a user-friendly interface for your flowgraph. | ||
[[File:Running_custom_layout.gif]] | |||
== Tips and Considerations == | == Tips and Considerations == | ||
| Line 55: | Line 65: | ||
Here are some tips and considerations to keep in mind when working with Qt integration in GNU Radio: | Here are some tips and considerations to keep in mind when working with Qt integration in GNU Radio: | ||
* No Layout : This error might occurs when we do not set a layout for our widget | * No Layout : This error might occurs when we do not set a layout for our widget. | ||
[[File:Layout_error_console.png]] | |||
To resolve this, ensure that we set a layout for our widget, either by using the default layout or a custom layout. | |||
[[File:Layout_error_fix.gif]] | |||
Revision as of 18:59, 16 August 2023
| Beginner Tutorials
Introducing GNU Radio Flowgraph Fundamentals
Creating and Modifying Python Blocks DSP Blocks
SDR Hardware |
Qt Integration in GNU Radio
This wiki page aims to guide through the process of integrating Qt GUI components into our GNU Radio projects. Qt provides a powerful framework for creating interactive and visually appealing graphical user interfaces, and integrating it with GNU Radio can enhance the user experience of our flowgraphs.
Introduction
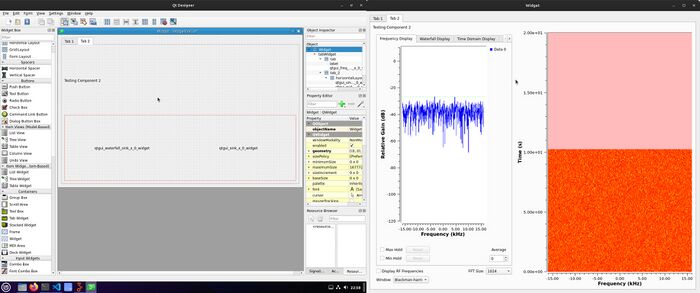
Qt is a cross-platform C++ framework for developing applications with rich graphical user interfaces. Integrating Qt GUI components within your GNU Radio projects enables you to design and customize the appearance and behavior of your flowgraphs' user interfaces.
Creating Custom Layouts
Creating custom layouts in Qt allows us to arrange and organize our GUI elements in a way that best suits our application's needs. We can create layouts such as grids, stacked widgets, and more, to achieve a well-structured and visually appealing interface.
To create a custom layout:
1. Open your GNU Radio Companion (GRC) flowgraph.
2. Add the desired gr-qtgui widgets to your flowgraph.
3. Save your flowgraph.
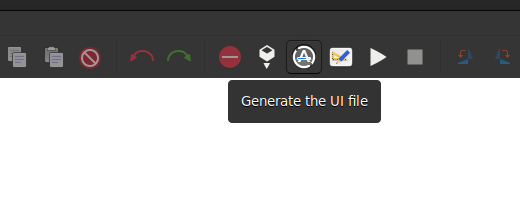
4. Generate a .ui file by navigating to "Top Horizontal Bar" > "Generate .ui Form for Flowgraph."
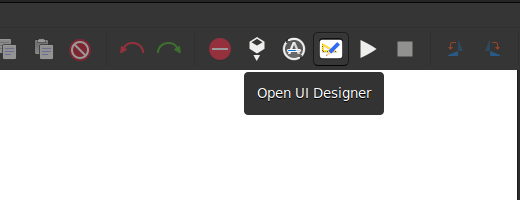
5. Open the generated .ui file in Qt Designer to create and customize your layout.
Editing .ui Files in Qt Designer
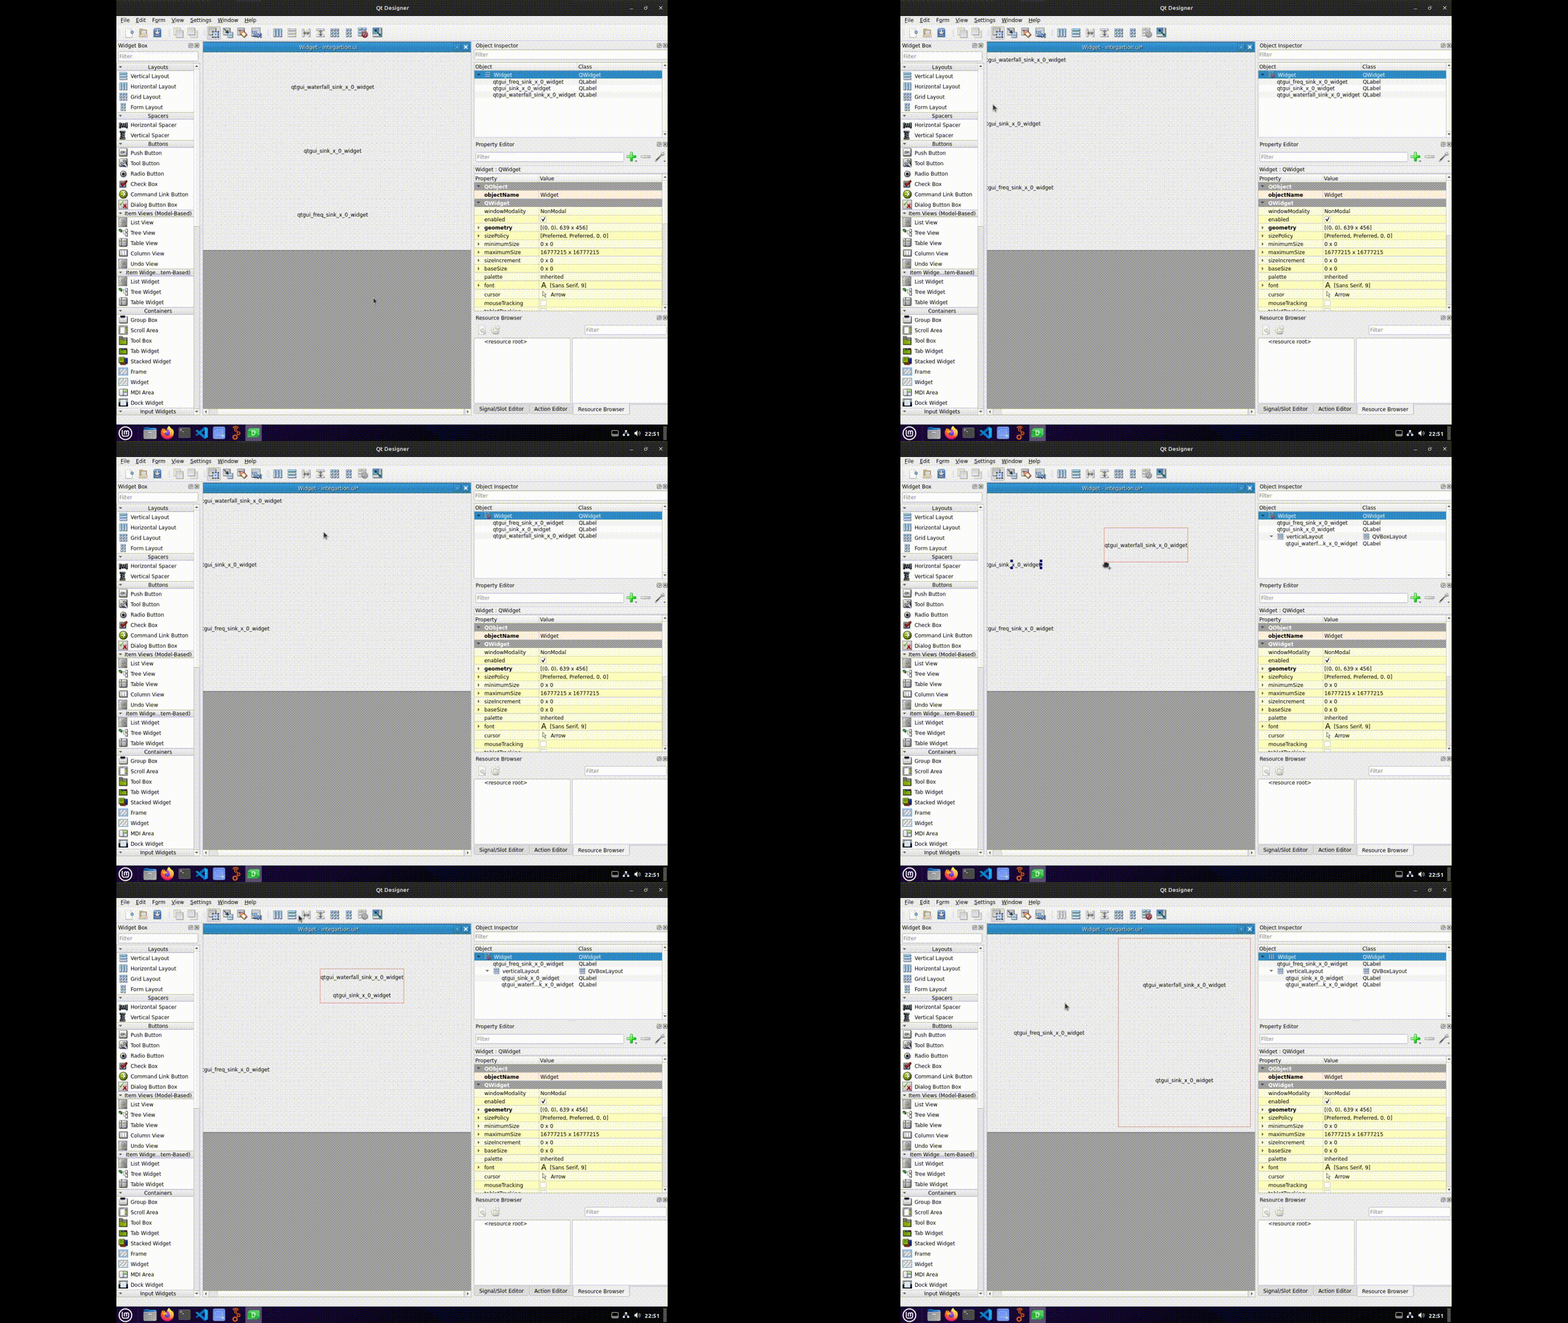
Once we have our .ui file, we can open it in Qt Designer to further customize the layout and appearance of our GUI. Qt Designer provides an intuitive interface for adding widgets, arranging elements, and applying formatting options.
Integrating .ui Files
Once you've created and customized your layout in Qt Designer, the generated python file will integrate it into your GNU Radio project:
1. The .ui file is loaded in your Python code using the `uic` module.
file_path = os.fspath(Path(__file__).resolve().parent / "<your-file-name>.ui")
       if os.path.exists(file_path):
           ui_file = QFile(file_path)
           ui_file.open(QFile.ReadOnly)
           uic.loadUi(ui_file,self)
           ui_file.close()
2. The loaded .ui file to set your main application window.
Running the Custom Layout
Running your custom layout is as simple as executing your Python script. Your GUI will reflect the design and arrangement you created in Qt Designer, providing a user-friendly interface for your flowgraph.
Tips and Considerations
Here are some tips and considerations to keep in mind when working with Qt integration in GNU Radio:
- No Layout : This error might occurs when we do not set a layout for our widget.
To resolve this, ensure that we set a layout for our widget, either by using the default layout or a custom layout.
